The 4 Week Course Difference
4 Week Courses with instructor feedback
Independent learning with a self-paced course is a great way to ensure that you’re able to learn on your own timeframe, but what if you could combine that with instructor feedback and critique? As a California credentialed teacher for 15 years, I have found that providing students with meaningful feedback is an essential part of the learning process and in these courses, you’ll get the benefit of both! Each week will include video lessons where you will learn about the topic of the week and have assignments that will help you incorporate these practices into your own photography. When you submit your assignments for critique at the end of each week, you will receive a personalized, video response from me that gives you feedback on your strengths as an artist and your next steps for growth. After 4 weeks, imagine the possibilities for all that you will have learned!
COURSES BEGIN TUES, FEBRUARY 20 and END ON MARCH 15
Level Up Your Light
Seeing, Shaping, and Editing
Different Types of Light
$399
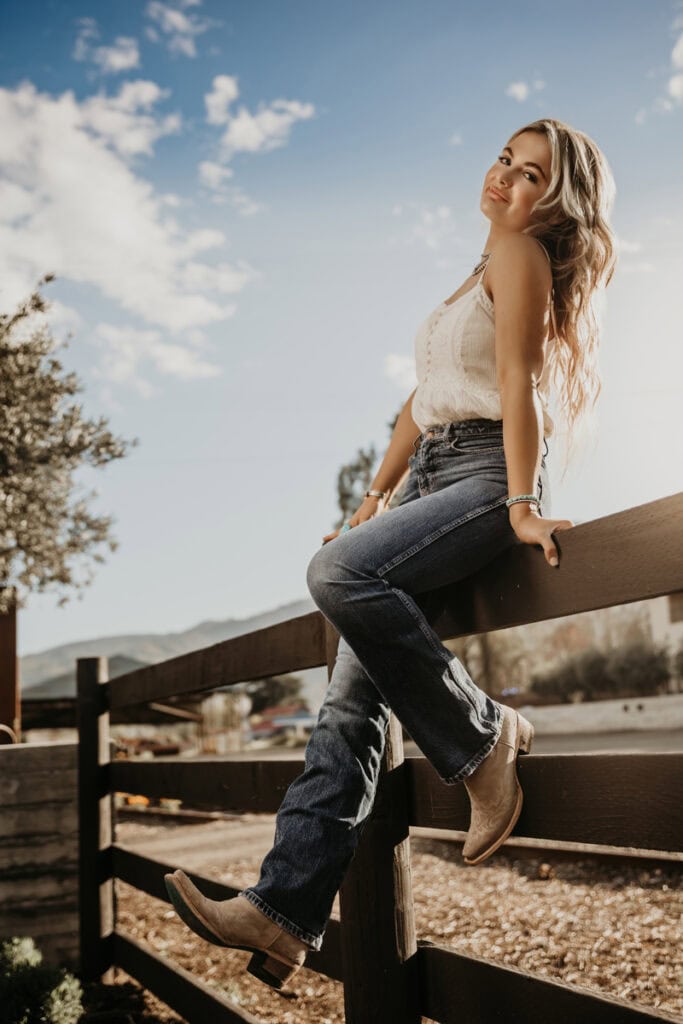
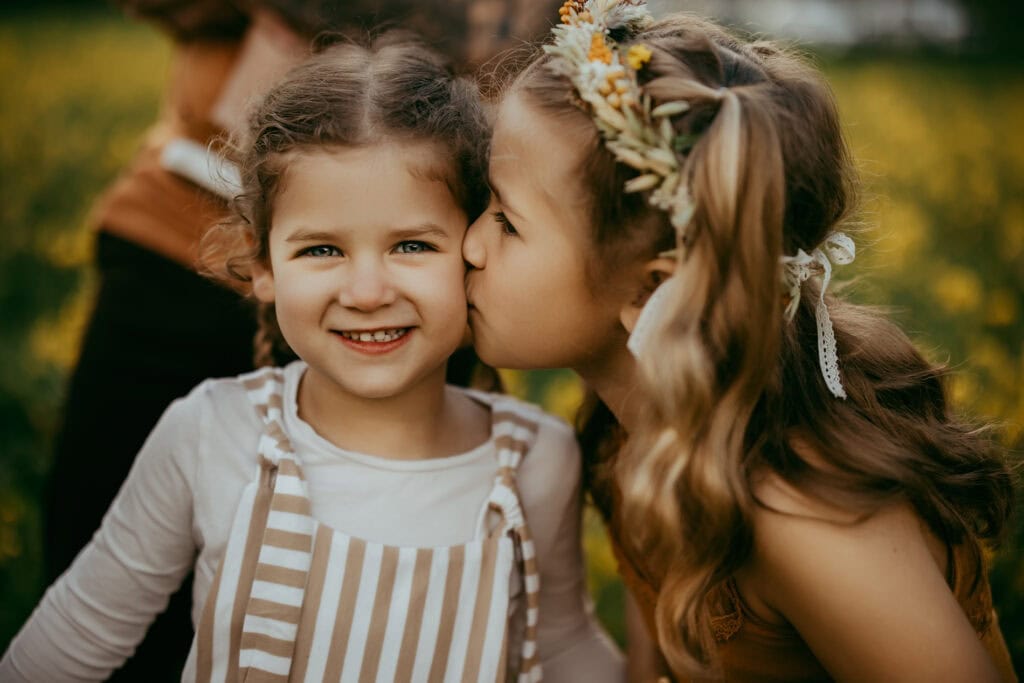
Who is this course for? This course is geared for photographers who already have a little bit of experience with their camera. Students must have a basic understanding of the exposure triangle and Adobe Lightroom. Assignments can be completed using client sessions, your own children, self-portraits, or your pets!
Week 1: The Basics of Light
Discover why seeing light is an essential part of creating beautiful images and how you can best use the indoor light in your own home or in public spaces around your community to create stunning portraits.
Week 2: Mastering Backlight
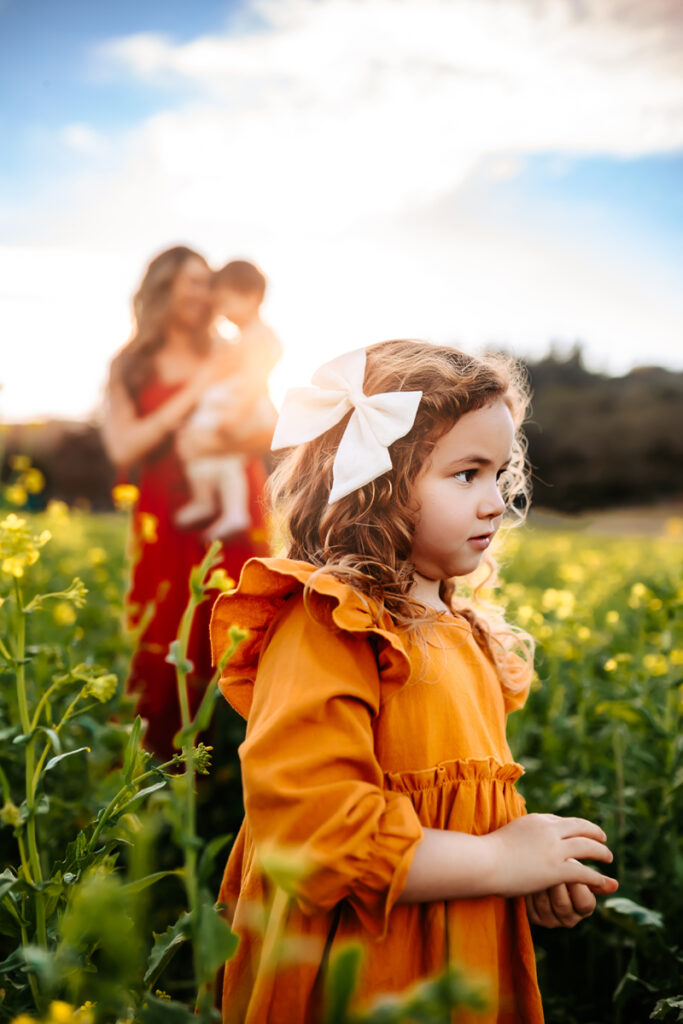
See why every photographer’s dream is capturing the perfect, golden backlight. Learn how to set up your subject to harness that golden glow without overpowering them with haze. Learn how to style and edit backlight to ensure natural, glowing skin tones.
Week 3: Perfect Beauty Shots
Learn how to take beauty shots with glowing skin tones by utilizing open shade, overcast light, and blue hour lighting while positioning your subjects. Edit along with me and find out why this type of light is the best for bold, beautiful colors.
Week 4: Putting it All Together
Now that we’ve covered how to use different types of light, put your knowledge to the test with storytelling. Find out how to create images that speak to your creative side and maximize different lighting scenarios and editing techniques to create art.
Bold Beginnings
Camera Basics, Editing
and Composition for Beginners
$399
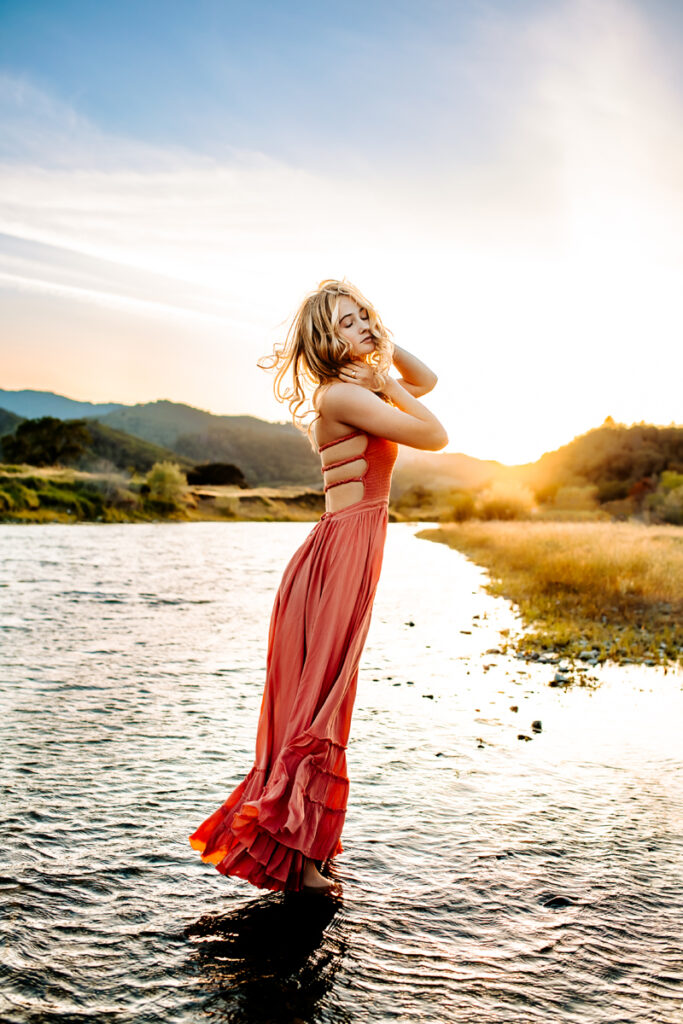
Who is this course for? This course is geared for beginner and/or hobbyist photographers who have little to no experience with their camera but are excited to learn! Students must have access to a basic DSLR camera and Adobe Lightroom (I’ll start from the beginning with Lightroom – you just need to have it downloaded on your computer!). I also recommend purchasing a basic “nifty-fifty” for more control over your photos ($99). A purchase list with links will be included as soon as you sign up for the course! Assignments can be completed using client sessions, your own children, self-portraits, your pets, or even still lifes!
Week 1: The Basics
What are the settings that my camera uses and why should I move out of “Auto” on my DSLR camera? Use AV Mode on your camera to maximize portrait photos and create background blur. Begin importing photos into Lightroom and learn the basics of editing.
Week 2: The Rules of Composition
Discover why using the Rules of Composition will help you take your photography to the next level. Learn about using selective editing in Lightroom with brushes and AI Masking to edit specific parts of your image.
Week 3: Tips and Tricks with Light
Why does some light create beautiful images and other light create muddy skin tones? Pick up key pointers on how to make skin glow using light straight out of camera. Learn the settings in Lightroom that will help you soften skin and make it glow.
Week 4: Storytelling and Unposed Photography
Why do some images make you feel something and give you a sense of capturing a moment? How do you harness that into art? Find out why some of my favorite images of my children are raw, real, and authentic and what I’m looking for as I capture these shots and why black and white editing creates timeless pieces of art that you can confidently hang in your house.
